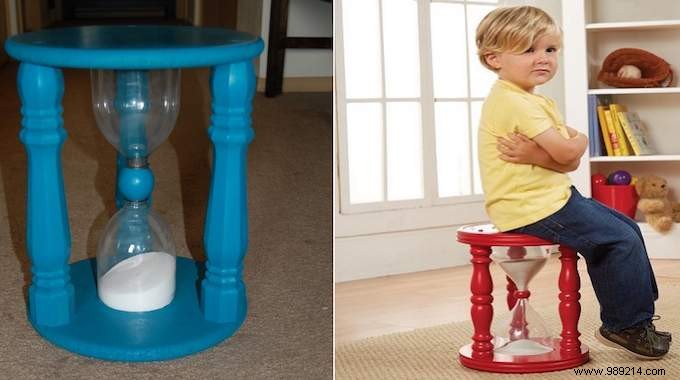
When a child does something stupid, they are often sent to the corner for one moment.
The problem is that no one really knows how long they should stay around...
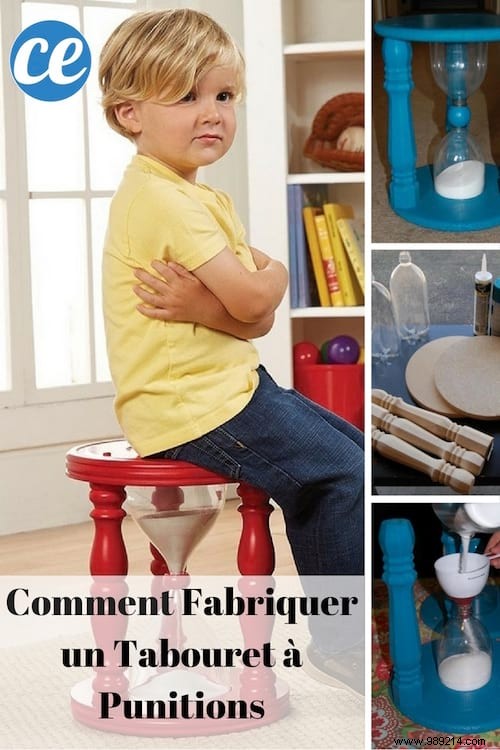
The solution ? This stool with an integrated hourglass that indicates the time the child should stay on it.
Ingenious for parents, isn't it? With this homemade stool, your toddler will know for himself when his punishment is over.
He will thus wait wisely until his punishment is truly over.
Discover the tutorial to make yourself this hourglass stool for punishments . Look, it's simple and economical:
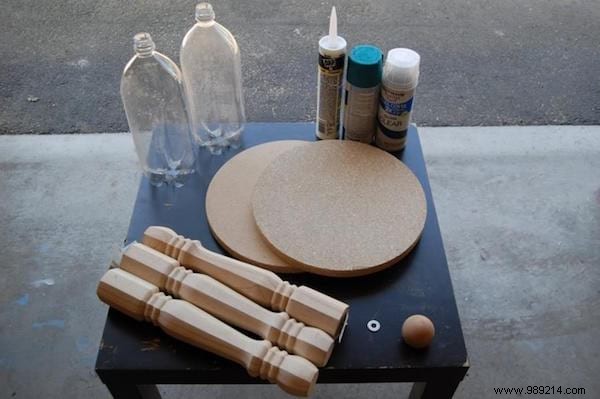
- 2 soda bottles of 2 l each
- 2 wooden circles 30 cm in diameter
- 3 legs of 35 cm
- 1 wooden ball of 5 cm
- spray paint in the desired color
- 1 metal washer the size of the neck of the bottles
- silicone
- wood pulp
- sand
- varnish (optional)
- 1 drill
- 1 wood cutter
1. Sand the wooden circles so that no splinters hurt your child.
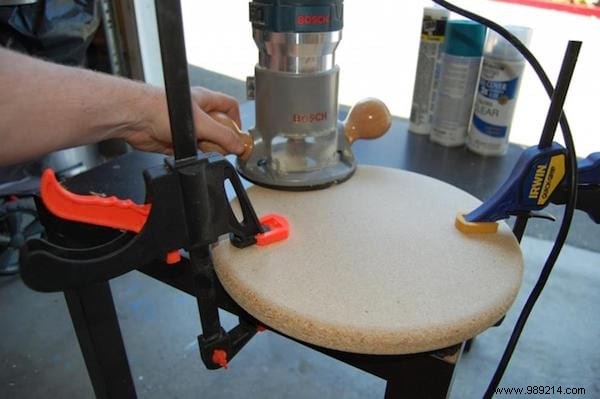
2. Make a hole in the center of the wooden ball:this hole should be the size of the necks of the bottles. The necks must be able to pass inside.
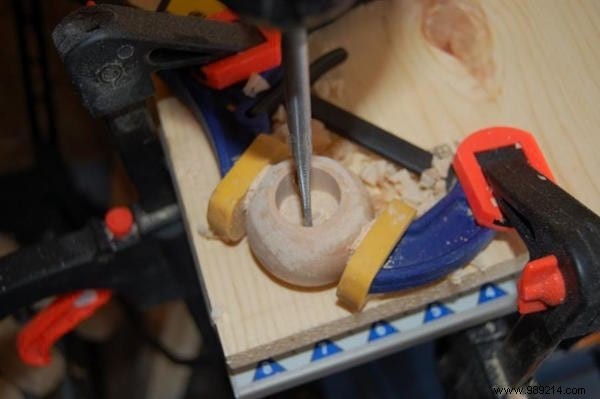
3. This is what it should look like:
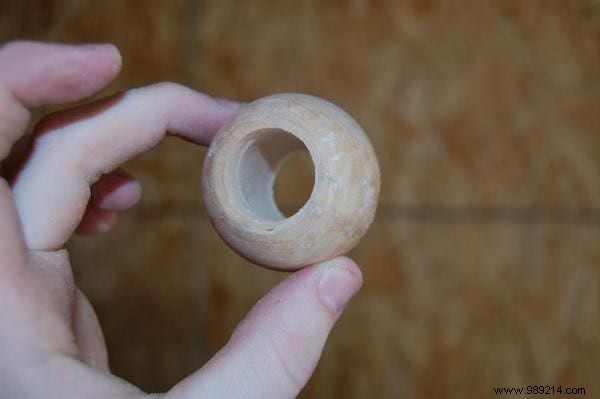
4. Now draw a circle the size of the width of the bottles in the two wooden washers.
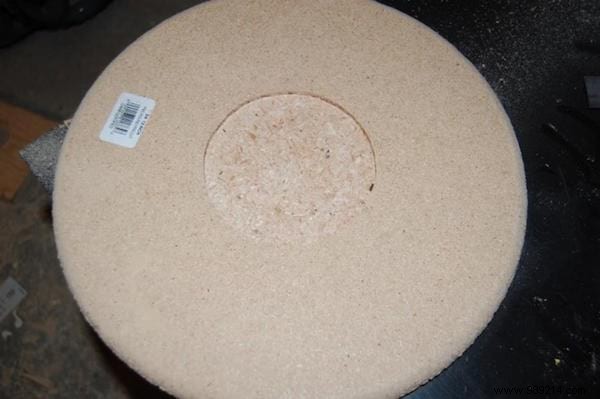
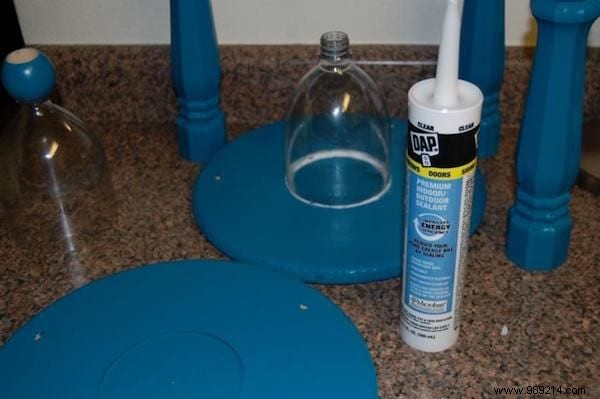
5. Cut the bottles in half and keep only the tops of the bottles.
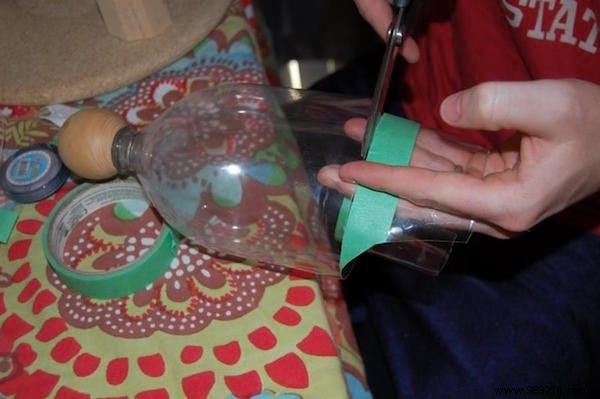
6. Paint the wooden parts of the stool the desired color.
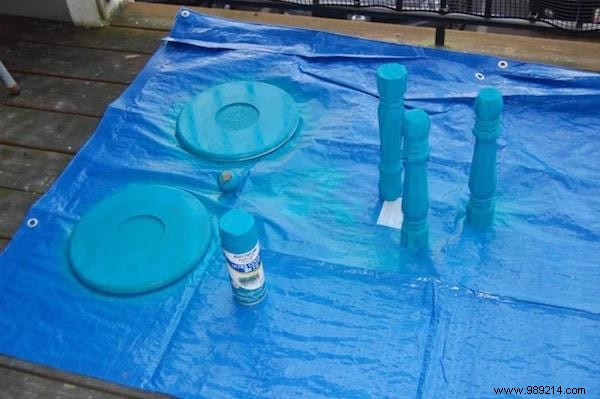
7. Take a sheet of paper and cut out a triangle of 20 cm side. This will help you drill the holes in the right place.
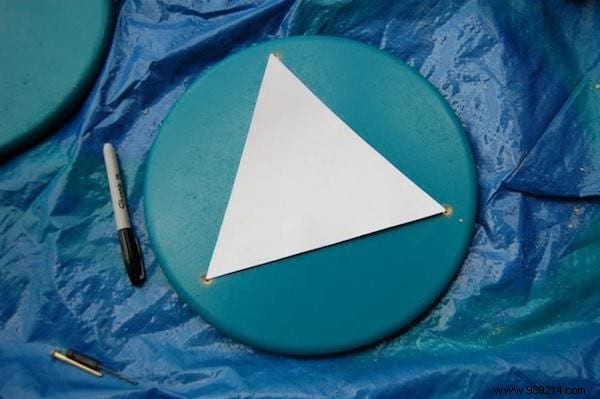
8. Place the triangle in the middle of the wooden circle. With a cutter, make 3 holes:position them at each corner of the triangle, on the wooden circles.
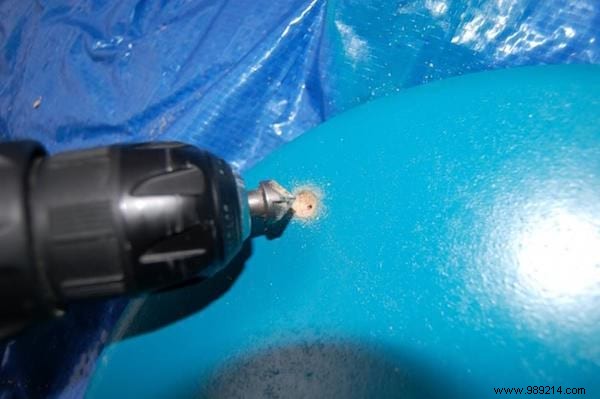
9. Drill the three holes in the two wooden circles.
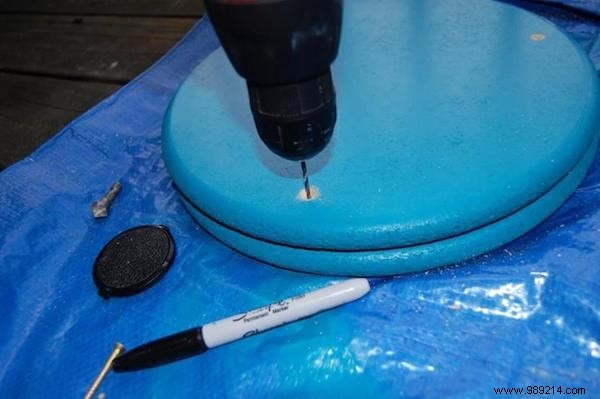
10. Now make a hole in the feet.
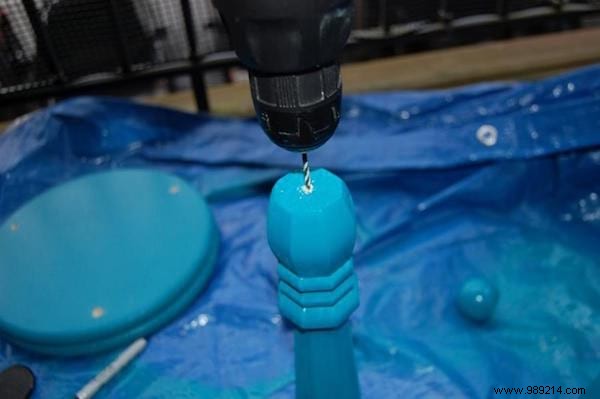
11. With the silicone, glue the two bottles on each of the circles on the side of the holes and wait for it to dry.
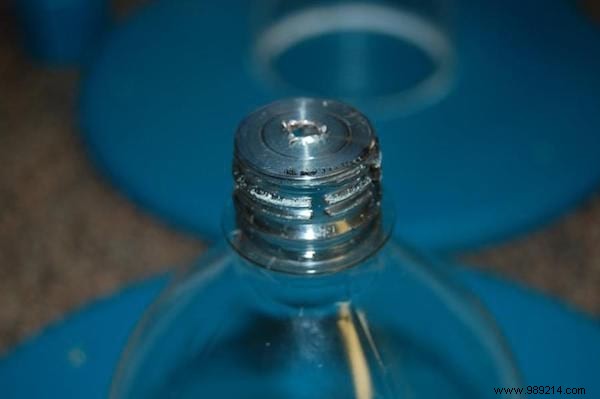
12. Glue the metal washer on the neck. Drill a hole in it so that the sand can flow out. The bigger the hole, the shorter the punishment!
13. Fix the feet on one of the wooden circles. Using a funnel, pour the sand into the other bottle.
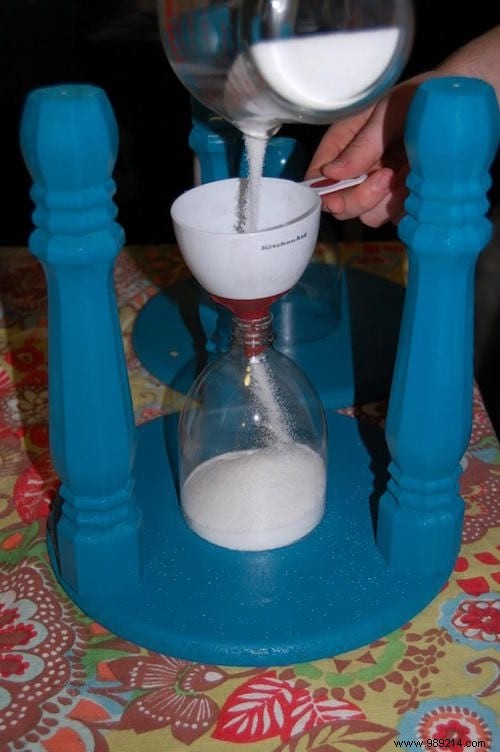
14. Put silicone on each of the necks.
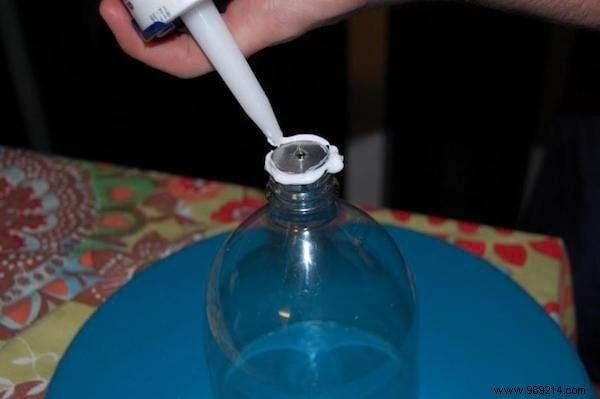
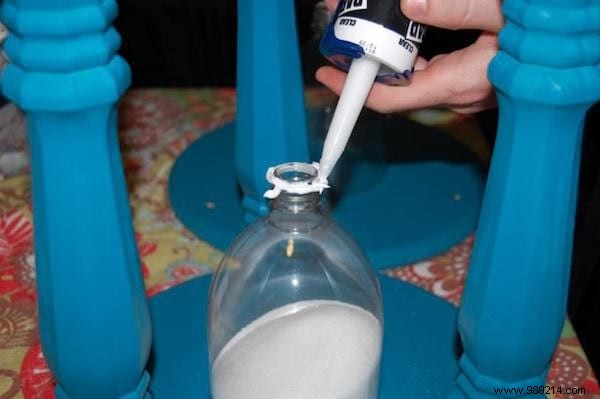
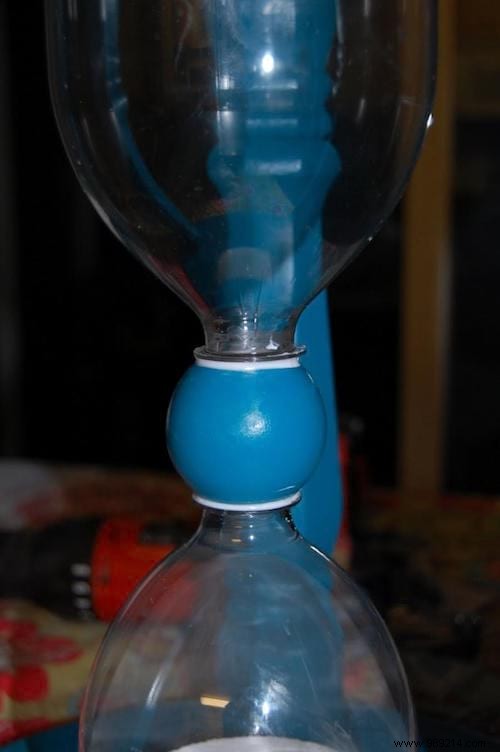
15. Using the wooden ball that you punched, assemble the two parts of the stool together. Then screw the legs to the upper part of the stool.
16. To hide the screw marks, put wood putty on the holes. Remove excess and let dry. Paint over it.
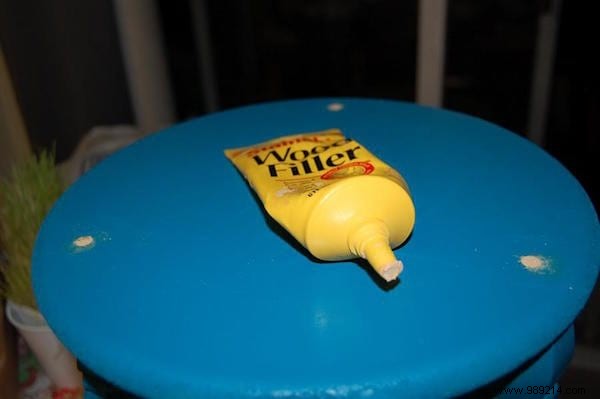
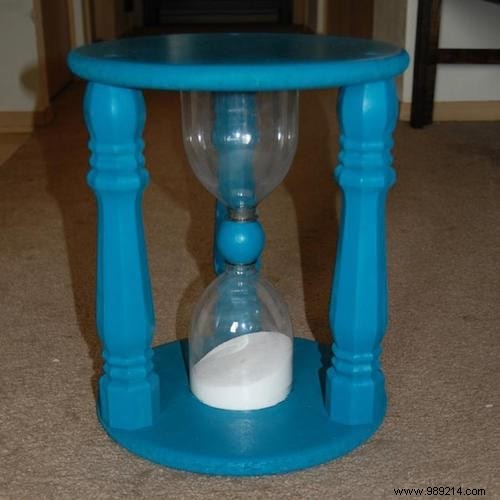
And There you go ! Your punishment stool is already ready :-)
Easy, fast and economical, right?
No more arguing about how long your child should stay around!
I tried with my children and I can tell you that it works like hell.
They are now much wiser and more independent even when punished.